In this chapter
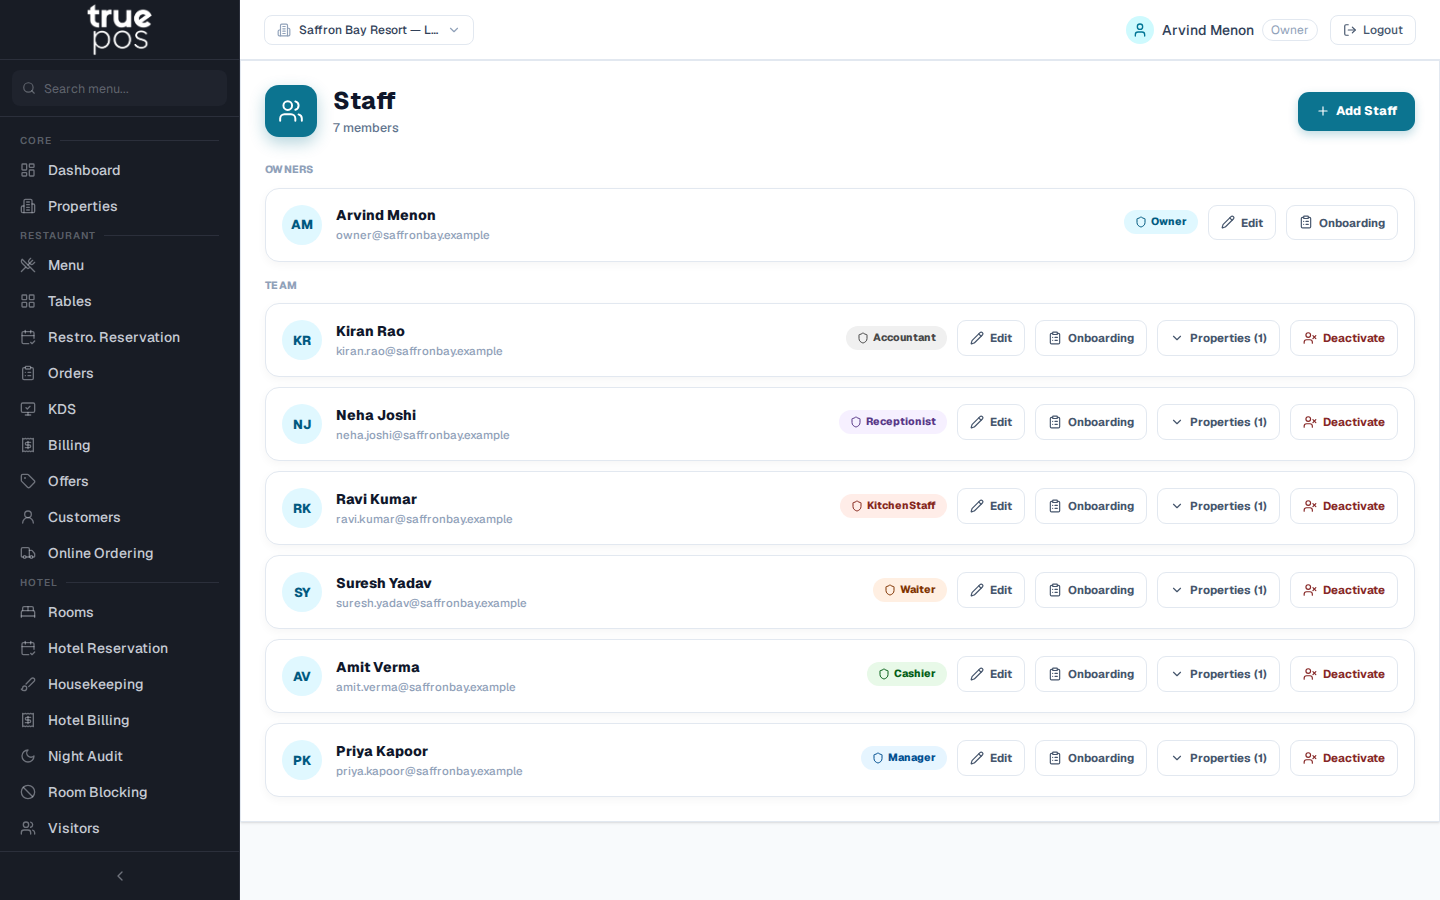
Adding a staff member
- Go to Staff and click Add Staff.
- Enter their First Name, Last Name, Email and a starting Password, plus a Phone (optional).
- Choose their Role: Manager, Cashier, Waiter, Kitchen Staff, Receptionist or Accountant. The role decides what they can see and do (see Users & Security).
- Click Create. You'll see Staff member created.
Give them their email address and password, and they can sign in straight away.
Giving access to a property
A staff member works only in the properties they're assigned to. On their card, choose a property and click Assign. Click Remove to take access away.
Changing a role or deactivating someone
- Edit changes their name, phone and Default Property.
- Change Role changes their Base Role. This swaps their default permissions and signs them out, so the change takes effect immediately.
- Deactivate blocks their login when someone leaves. Their history stays in the system.
Planning shifts
Go to Shifts to see the week's roster as a calendar (Mon–Sun).
- Click New Shift (or Add shift on a day).
- Choose a Shift Name (for example Morning, Evening or Night) or Custom, and set the Start Time and End Time.
- To create the same shift on many days, tick Repeat across a date range, choose the dates, and pick On these days.
- Tick Publish (visible to assigned staff) when the shift is final.
- Save, then click Assign Staff and pick who works it.
| Shift status (per person) | Meaning |
|---|---|
| Scheduled | Assigned |
| Confirmed / Declined | The staff member accepted or declined |
| Completed | Worked |
| No Show | Didn't turn up |
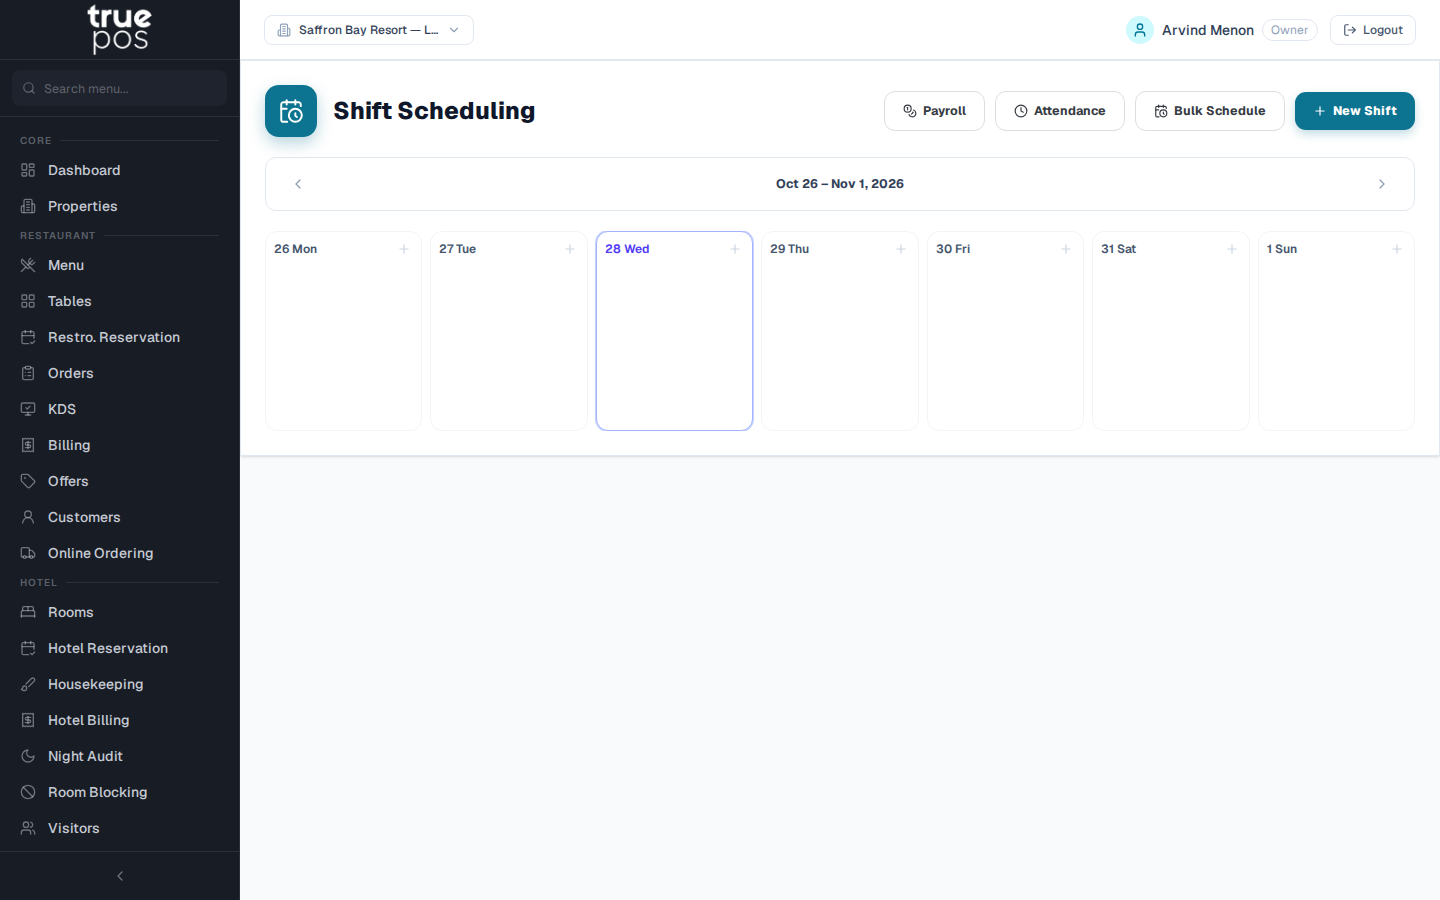
To build a whole schedule at once, for example every shift for the next month, use Bulk Schedule. Add one or more shifts, choose the dates and days, pick the staff, and click Create Schedule. The result shows which shifts were Created and which Already existed.
The Weekly Payroll Summary at the bottom of the page shows the hours each person was Assigned and actually Worked.
Attendance with a QR code
- Go to Shifts → Attendance and click Generate QR Code.
- Print the Attendance QR Code and put it up at the staff entrance.
- Staff scan it with their phone camera to Check In at the start of a shift and Check Out at the end. They can also type the code shown on the poster.
The attendance page shows who is currently checked in. Click Export CSV or Export Summary to download attendance for payroll. If a QR poster is lost or copied, click Regenerate to replace it.
Leave
Staff: requesting leave
Every staff member can open My Leave to see their leave balances and requests. To ask for time off, click Request Leave, choose the Leave Type, the From and To dates (tick Half day if needed), and add a Reason. A pending request can be cancelled.
Managers: approving leave
In Payroll → Leave, the Requests list shows every leave request. Click Approve or Reject. The Balances view shows each person's remaining leave, and Adjust corrects a balance. Unpaid leave is marked LOP (loss of pay) and is deducted in payroll.
Setting up payroll
Do this once, in Payroll → Configuration.
| Setting | What it controls |
|---|---|
| Pay Period | Monthly, Bi-Weekly or Weekly |
| Working Days / Month | Used to calculate daily pay and loss of pay |
| Provident Fund (PF) | Employee Rate (%), Employer Rate (%) and the Wage Ceiling |
| Employee State Insurance (ESI) | Rates, and the gross-pay limit up to which ESI applies |
| Professional Tax (PT) | Slabs by monthly gross income, as your state requires |
| Overtime Pay | The Overtime Multiplier, for example 1.5× |
| Allowance Types | For example HRA, DA or Travel, as a fixed amount or a % of Basic Salary |
| Leave Types | For example Casual or Sick Leave: the yearly quota, paid or unpaid (LOP), how it accrues, carry-forward limits, and whether half days are allowed |
Then, in Payroll → Salary Setup, click Add Salary Config for each staff member. Choose the Pay Type (Monthly, Daily or Hourly), the Basic Salary, the date it's Effective From, their Allowances, and their Bank / UPI Details for the payslip.
Salary advances
In Payroll → Advances, click Give Advance, choose the staff member and the Amount (₹), and decide how it's recovered: Full recovery in next payroll, or Split over multiple months. Payroll deducts it automatically. An advance can also be Waived.
Running payroll
- Open Payroll → Run Payroll and click Process Payroll.
- Choose the Year, Month and Scope, add optional Notes (for example June 2026 payroll), and process.
- Review each person's line: Days Present, Gross, the PF+ESI+PT deductions, any Advance recovered, and the Net Pay.
- If a figure needs a manual change, click Override, enter the Override Amount (₹) and a Reason *.
- When everything is right, click Finalize.
- As you pay each person, click Mark Paid, and record the Payment Mode (Cash, Bank Transfer, UPI or Cheque), the Reference / UTR and the date.
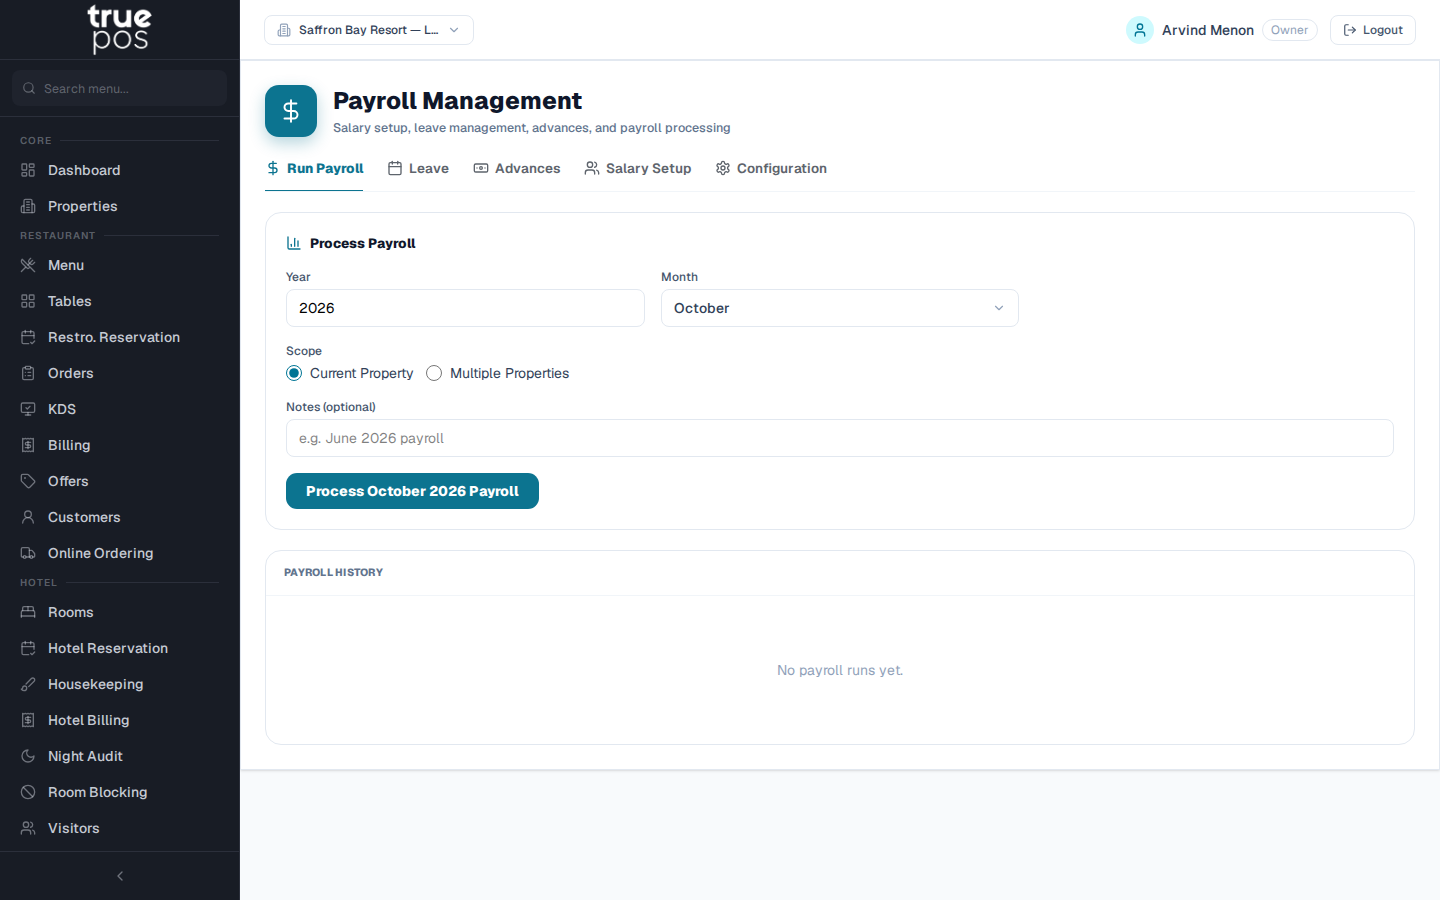
Past runs are listed under Payroll History.